Skull 3D Layered Paper Cut SVG – A Practical Guide for Creators and Halloween Enthusiasts
For those who enjoy the thrill of crafting intricate Halloween decorations, the Skull 3D Layered Paper Cut SVG offers a unique opportunity to bring spine-chilling designs into tangible form. This digital file is not just an artistic representation but a structured blueprint that allows users to create a multi-layered shadow box with precision and ease. Whether you're a seasoned crafter or a beginner experimenting with paper cutouts, understanding how to integrate this SVG into your workflow can elevate your projects from simple decorations to standout pieces.
What Is Skull 3D Layered Paper Cut SVG?
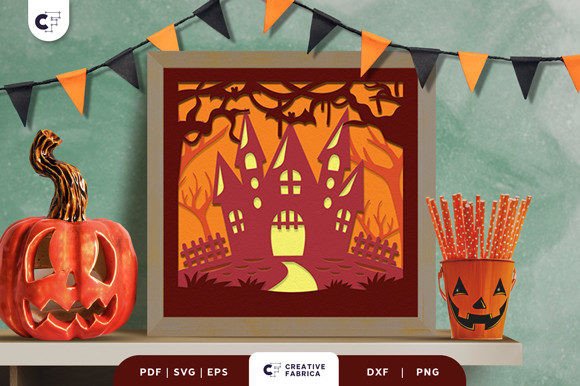
The Skull 3D Layered Paper Cut SVG is a digital design file that enables the creation of a layered, three-dimensional skull using paper cutting techniques. It’s specifically tailored for use with digital cutting machines such as Cricut or Siser, allowing for clean and accurate cuts on cardstock materials like the high-quality Encore Cardstock 80 lb cover (216 gsm). The design comprises nine distinct layers, each contributing to the depth and realism of the final piece. With a size of 20.32×20.32 cm, it fits perfectly within standard crafting dimensions while maintaining enough scale to make an impact in displays or gift items.
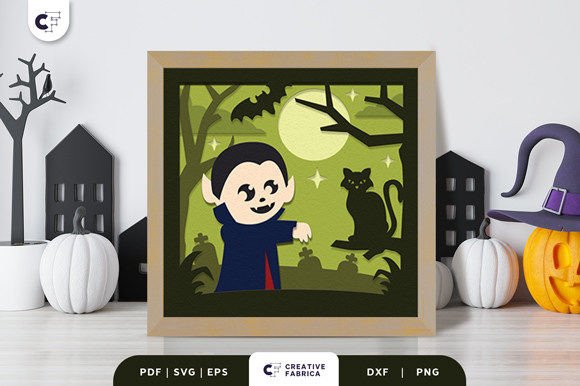
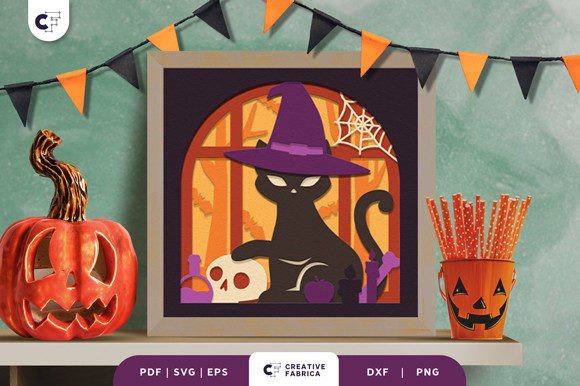
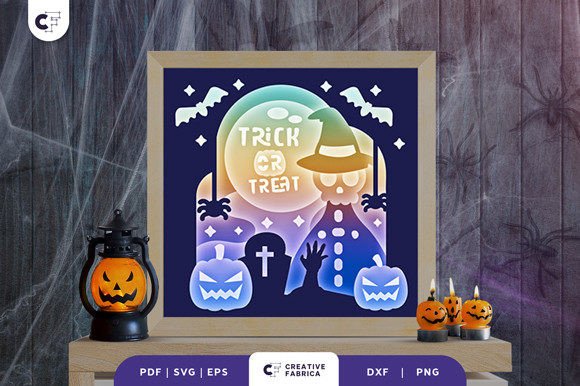
This SVG is part of a broader Halloween-themed collection, often paired with other elements like pumpkins, scarecrows, and zombies to craft cohesive and eerie shadow boxes. It serves as a foundational component in these assemblies, where each layer adds texture, dimension, and narrative to the overall scene.
Preparation Phase
Before diving into the actual crafting process, preparation is key. Ensure you have access to a compatible digital cutting machine and the appropriate software—such as Cricut Design Space or Adobe Illustrator—to load and manipulate the SVG file. You’ll also need the recommended Encore Cardstock, which provides durability and crisp lines necessary for layered projects.
- Download the File: Obtain the Skull 3D Layered Paper Cut SVG along with its companion formats: PDF, EPS, PNG, and DXF. These additional files offer flexibility depending on your preferred toolset.
- Review Layer Structure: Open the SVG in your design software to understand the nine layers and their intended placement. This helps in planning the order of assembly and identifying any custom modifications needed.
- Material Selection: Choose contrasting colors of cardstock to enhance the visual effect of the shadow box. Darker tones work well for the skull to stand out against lighter backgrounds.
Cutting and Assembly Process
Once prepared, the SVG becomes a central asset in the execution phase. Load the file into your cutting machine, set the correct material type, and let the machine do the precise work. After cutting all layers, organize them by labeling or numbering to avoid confusion during assembly.
- Cut All Layers: Run the SVG through the cutting machine using the specified settings for 80 lb cardstock. Make sure each layer is fully cut without partial or misaligned slices.
- Apply Adhesive: Use PVA Glue to adhere the layers together. Apply glue carefully to maintain alignment and prevent warping.
- Construct the Shadow Box: Stack the layers according to the design instructions. Begin with the base layer and build up to the topmost details. Allow the glue to dry completely before handling.
- Add Contextual Elements: Pair the skull with other Halloween-themed SVGs like pumpkins or zombies to complete the shadow box. These additions help tell a story and enrich the visual experience.
Post-Project Integration
After assembling the shadow box, consider how it will be used. Will it serve as a standalone decoration, or does it need to be integrated into a larger project? For instance, if you’re creating a themed display for a store or home, the skull can act as a focal point, complementing other paper-cut elements or even mixed-media components like fabric or wood.
Additionally, the finished product can be framed, hung, or displayed in shadow box frames designed for layered crafts. Its portability makes it ideal for events, parties, or seasonal pop-up installations. If you plan to sell or market these creations, ensure consistency in color, layer alignment, and finishing to maintain quality across multiple units.
Workflow Optimization Tips
To streamline your process when working with the Skull 3D Layered Paper Cut SVG, consider the following practical strategies:
- Batch Processing: If making multiple copies, prepare the SVG in batches to reduce setup time. Save the design in your machine's library for quick access in future projects.
- Layer Templates: Print the PDF version alongside the SVG for reference during assembly. This helps visualize the stacking order and identify potential issues before gluing.
- Color Consistency: Test different cardstock shades before committing to a full run. Lighting sources and paper textures can affect the final appearance, so a small trial ensures better outcomes.
- Storage and Reuse: Keep leftover cardstock and uncut SVGs organized in labeled folders or storage containers. This allows for easy reuse or modification in future projects.
Compatibility and Usability
The Skull 3D Layered Paper Cut SVG is designed with compatibility in mind. It works seamlessly with most major digital cutting platforms and supports a range of design editing tools. If you prefer hand-cutting, the PDF format provides clear outlines for manual tracing and cutting, though it may require more time and effort.
Usability extends beyond the technical side. Educators might use it in classroom activities to teach students about layering, symmetry, and design principles. Entrepreneurs could incorporate it into product lines for seasonal retail. Bloggers and content creators can showcase the process through tutorials, adding value to their audience while promoting the product organically.
Halloween Store Displays
Retailers looking to create immersive Halloween experiences can benefit greatly from this SVG. By integrating the skull into window displays or aisle signage, they add a dramatic touch that captures attention. Pairing it with other SVGs and ambient lighting enhances the spooky atmosphere and drives customer engagement.
Home Decor and Party Supplies
Whether for personal enjoyment or hosting a themed event, the Skull 3D Layered Paper Cut SVG provides a versatile option. Hang it from a ceiling to create a dynamic focal point or place it on a mantel to add character. It’s especially useful for those who want to customize party decor rather than relying on mass-produced items.
Educational and Creative Workshops
Instructors and workshop leaders can use this SVG as a hands-on project for students. It teaches the fundamentals of layering, spatial awareness, and precision cutting—all valuable skills in graphic design and fine arts. Plus, it’s engaging and seasonally relevant, making it easier to keep participants interested.
Quality Control and Long-Term Use
Maintaining a high level of quality is essential, particularly if the skull is being used for commercial purposes. Here are some observations and tips to ensure long-term usability and aesthetic appeal:
- Test Each Layer: Before assembling all nine layers, test one or two to check for accuracy and alignment. This prevents wasting materials on flawed builds.
- Use a Ruler and Guidelines: During assembly, aligning the layers precisely is crucial. Using a ruler or alignment guides helps achieve professional results.
- Seal with Varnish or Lamination: To preserve the shadow box and protect it from dust or moisture, apply a light coat of varnish or use lamination sheets. This also enhances the vibrancy of the colors.
- Document the Process: Take notes or record your steps during the first project. This documentation becomes a valuable reference for consistency in subsequent builds.
Conclusion
The Skull 3D Layered Paper Cut SVG is more than just a decorative element—it’s a structured design solution that fits naturally into various workflows. From educational workshops to commercial displays, it demonstrates how thoughtful planning and execution can turn digital art into compelling physical objects. By understanding the role of each layer, optimizing your tools and materials, and considering post-assembly applications, you can make the most of this design in both creative and practical contexts.
Ready to bring the haunting beauty of the graveyard to life? Get yours today and embrace the darkness of the Halloween season with a stunning piece of art that stands apart. Remember, the images are for preview only—the true magic lies in the final product you create.
Visit the 12×12 Cardstock Shop to find the right materials for your next project. This is a paid link at no extra cost to you, ensuring you get premium supplies to match your premium design.